top of page
Text Formatting in PS
WHAT IS IT?
-
Alongside image and photo manipulation, Photoshop allows us to create unique artwork, company logo, presentation backdrops or any other computer imagery you might need.
-
It provides us with different tools for entering and formatting text in out images.
-
The Character panel offers size, color, spacing and many other formatting options.
-
Press the "T" key on your keyboard as a shortcut for selecting the Text tool.
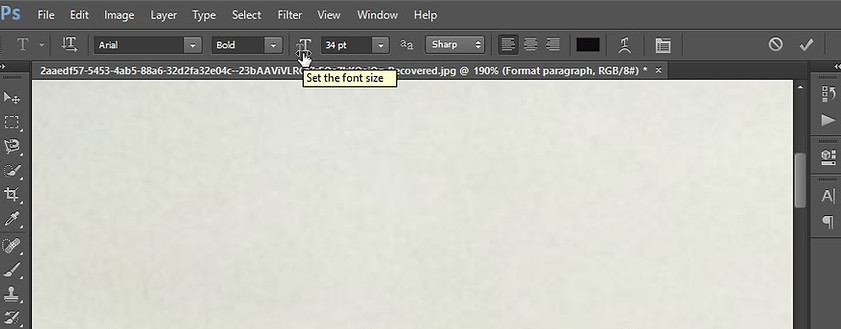
Align Text
Font
Style
Font Size
Character Window
(For more Function)
Character Window
-
Launch Photoshop.
-
Click the File > New > Create a blank photoshop document.
-
Click the Window menu > Character to open the text formatting panel on the right side of the Photoshop window.
-
Type a text.
-
Change the appropriate options in the Character panel to format the text. Changes will take place immediately,

Character Window
Spacing between two character
Spacing between all character
Increase Vertical / Horizontal
Kerning:
-
It is the process of adjusting the spacing between characters in a proportional font, usually to achieve a visually pleasing result.
-
Select the value of Kerning field on Character tool.

Text on a Path
-
Draw a shape as a path, so we can put some text on it.

Draw a path
-
Select the text tool, and look the cursor when over the path.
-
The changed cursor indicates that your text will be sticking to this path.
-
Click on there and you can type the text on the path.

Click on the path to type
-
You can determine the starting point and ending point of the text on the path.

Starting point
Hold Ctrl + drag
Customizing the Font Style
-
Here we can modify a text as per our requirement.
-
We can do this by converting the text to path.
-
Type a text.
-
Right click on the layer > Create Work Path.

Type the text
-
Right-click on the text layer
-
Create Work Path
-
Switch off the text layer and you will see the path generated around the text.
-
Grab the Pen tool > and change the control points.

-
Go to Path tab.
-
Select Add Anchor Point Tool.
-
Make changes to dots.

Make changes to dots.
-
Select and move the dots (Ctrl + select) > Click on path operation > Merge shape components.

-
Create a new layer to make it a present.

Create a new layer
-
Right click on Path > Fill path.
-
On Fill Path window give as required.
-
Click OK.

-
Right click
-
Fill Path
-
This Image I got, after saving the dots.
-
Here we can save the file as JPEG, PNG or other format.

bottom of page